


This tutorial will demonstrate Moneysocket through hands-on experience using applications built upon the protocol libraries. This includes the Moneysocket Chat App, the Costanza Wallet and the Custodial Provider Portal. By following these steps, you should gain knowledge of how these pieces interoperate through the protocol and should hopefully stoke your imagination for what kinds of apps could be developed in the Moneysocket ecosystem.
Moneysocket Chat:
Costanza Wallet:
Instead of reading this, this tutorial can be watched on YouTube:
Moneysocket works on an account model for holding an balance assigned authorized to a socket connection. This account with the ability to transact on the Lightning Network must be provided at the "Terminus".
For advanced users that wants to self-custody, you can run the Terminus application with your Lightning Network node. However, this tutorial is to show you a quicker path using a custodial account.
Go to the Custodial Portal and register:
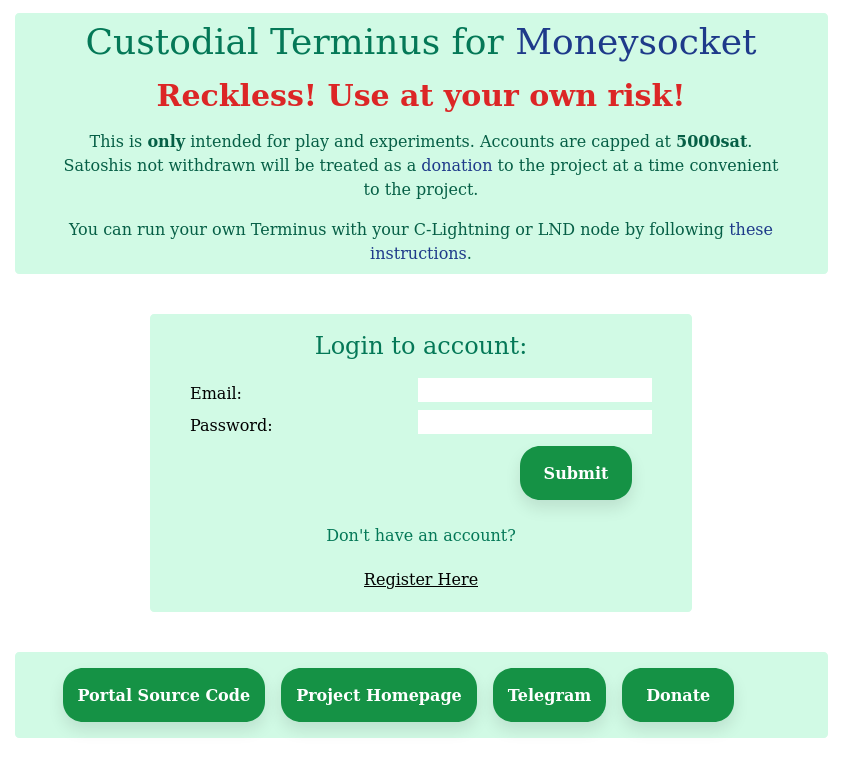
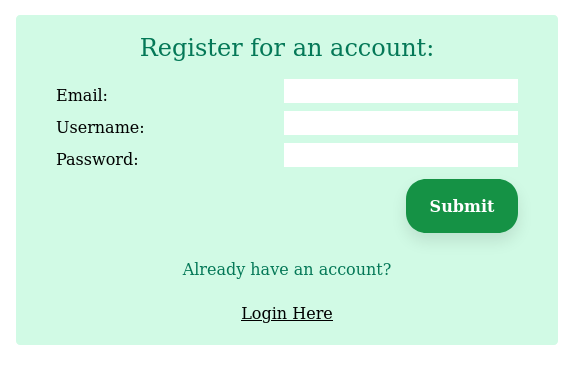
Please acknowledge the warning for you to not leave satoshis in the custodial accounts that you are not comfortable leaving as a donation to the project. The portal does not verify your email address, but if you leave a real address, we can contact you in the event the accounts are reset.
Once you are logged in to the account, you will see a greeting screen that is mostly blank, but with a New Account button. You can create up to five accounts with the portal, but you will only need one:
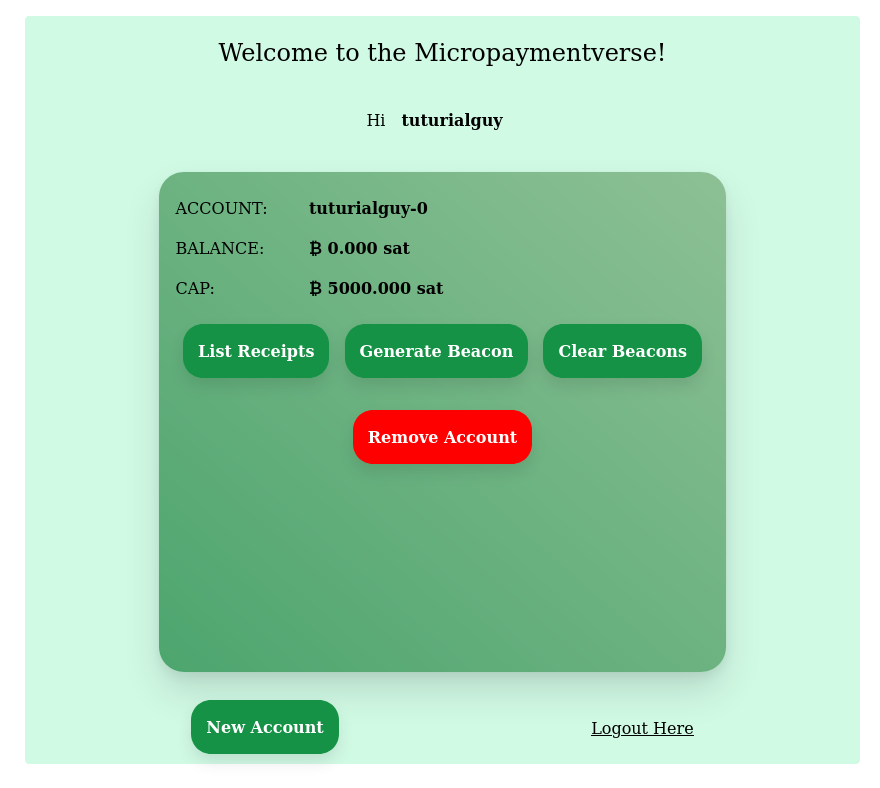
This account starts with zero satoshis, which you will have to deposit later. It also has a cap, since we do not desire to hold significant sums of Bitcoin for you.
You will need to press the Generate Beacon button to generate a beacon string. You can generate up to three beacons per account, but you will only need one. The information in the string is the means by which the wallet connects to this account.
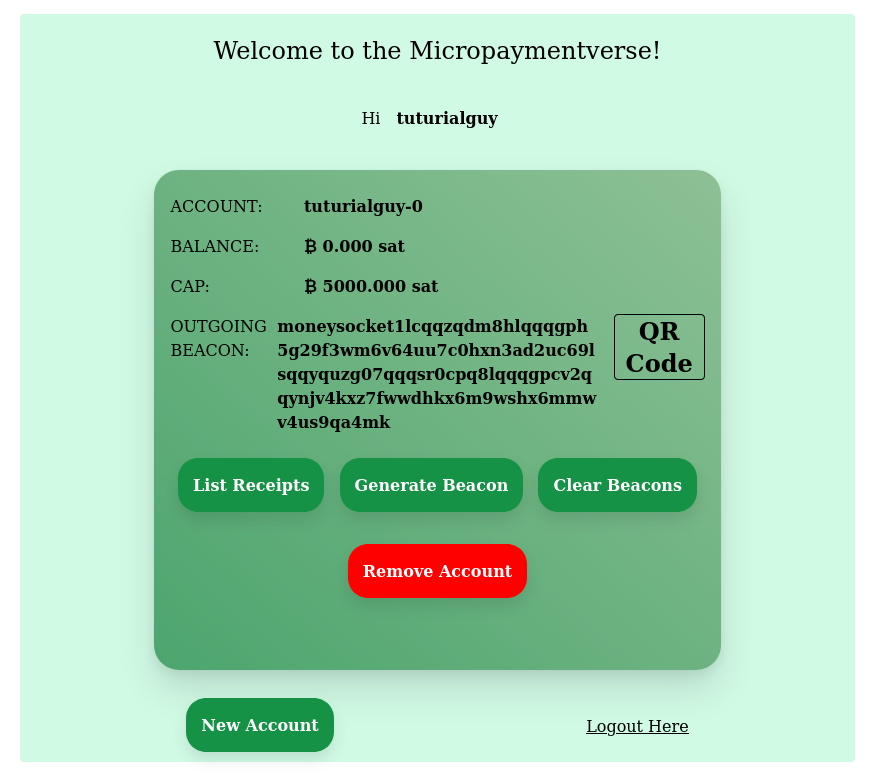
The string can be copy-pasted or rendered into a QR Code by pressing the button to make it easy to scan with a phone.
The project provides a wallet application that uses Moneysocket, named Costanza Wallet that is meant to be a prototype for future wallet-like apps that take advantage of the protocol. It needs no installation and simply runs in your web browser. It works great in a smartphone browser as well.
To run, you simply point your browser at the URL: socket.money/wallet
It stores the information it needs to store in the browser's local storage, so when it comes back, it can remember your data which do not leave your computer. You should see a screen that looks like this:
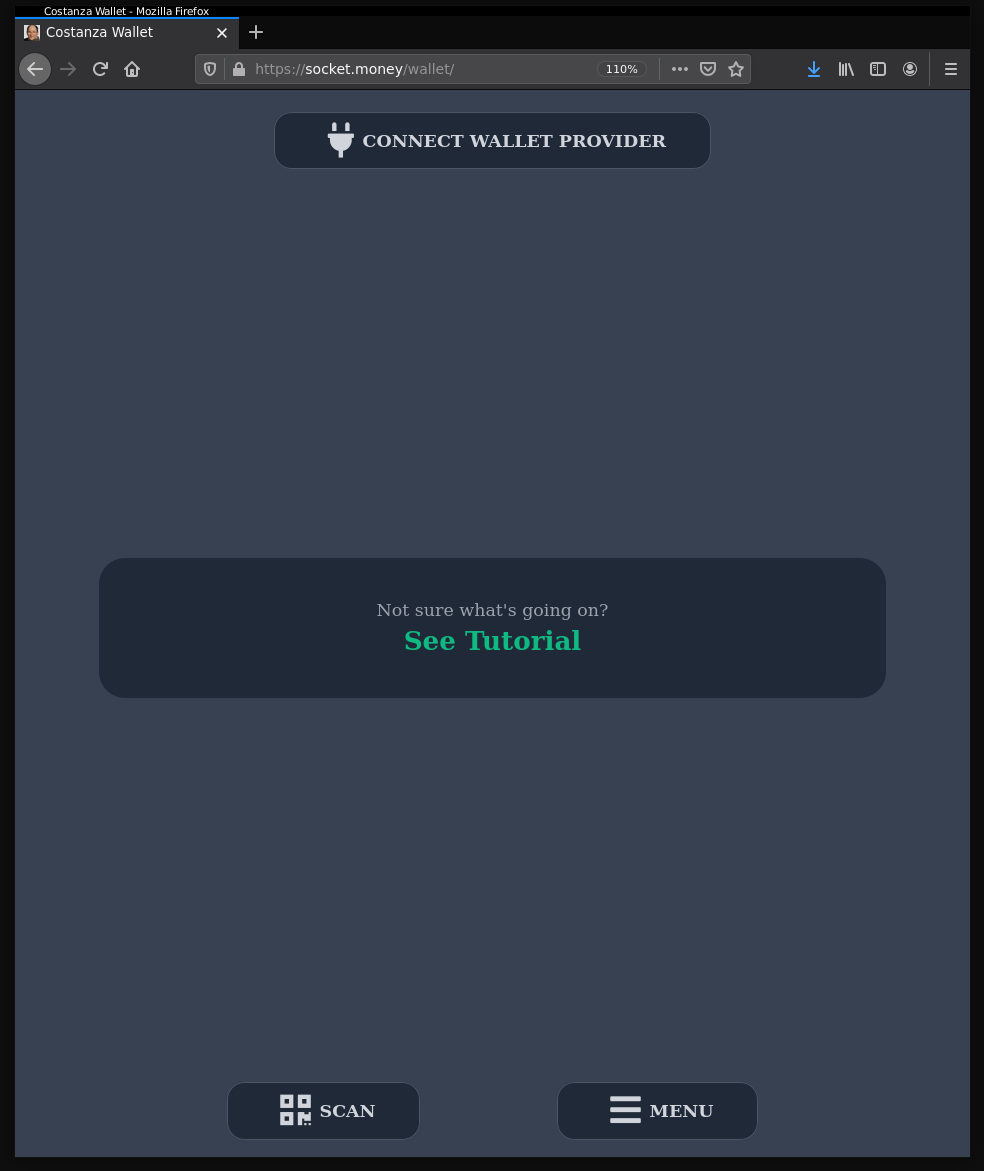
You will need to press the Connect Wallet Provider button at the top to open the dialog for setting up a provider connection:
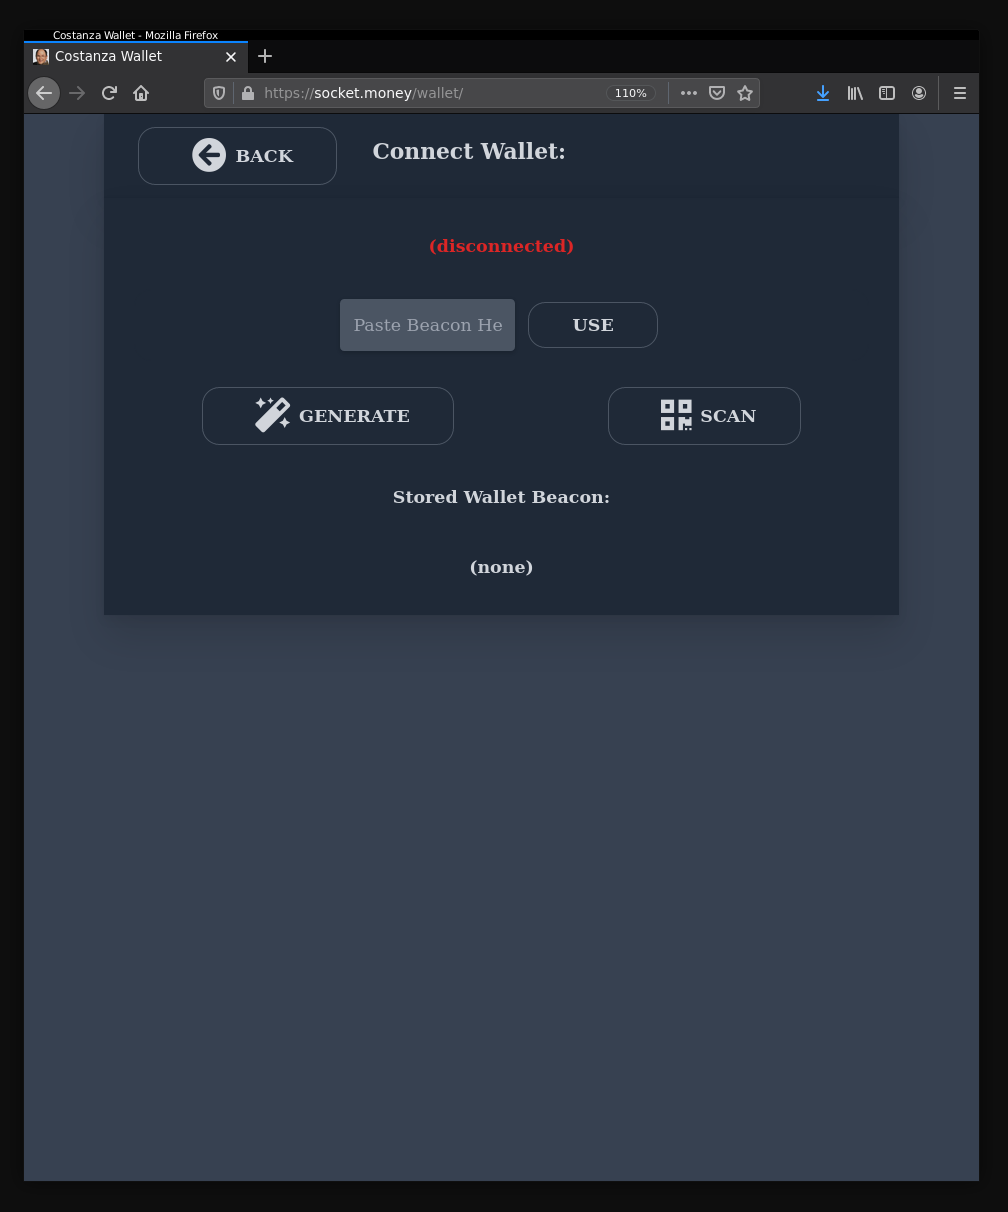
This is where you can paste or scan the QR of the beacon string generated in step 2 above. When you do, you should see it establishing a connection to the provider, but then automatically return to the home screen with the zero satoshi balance of the account:

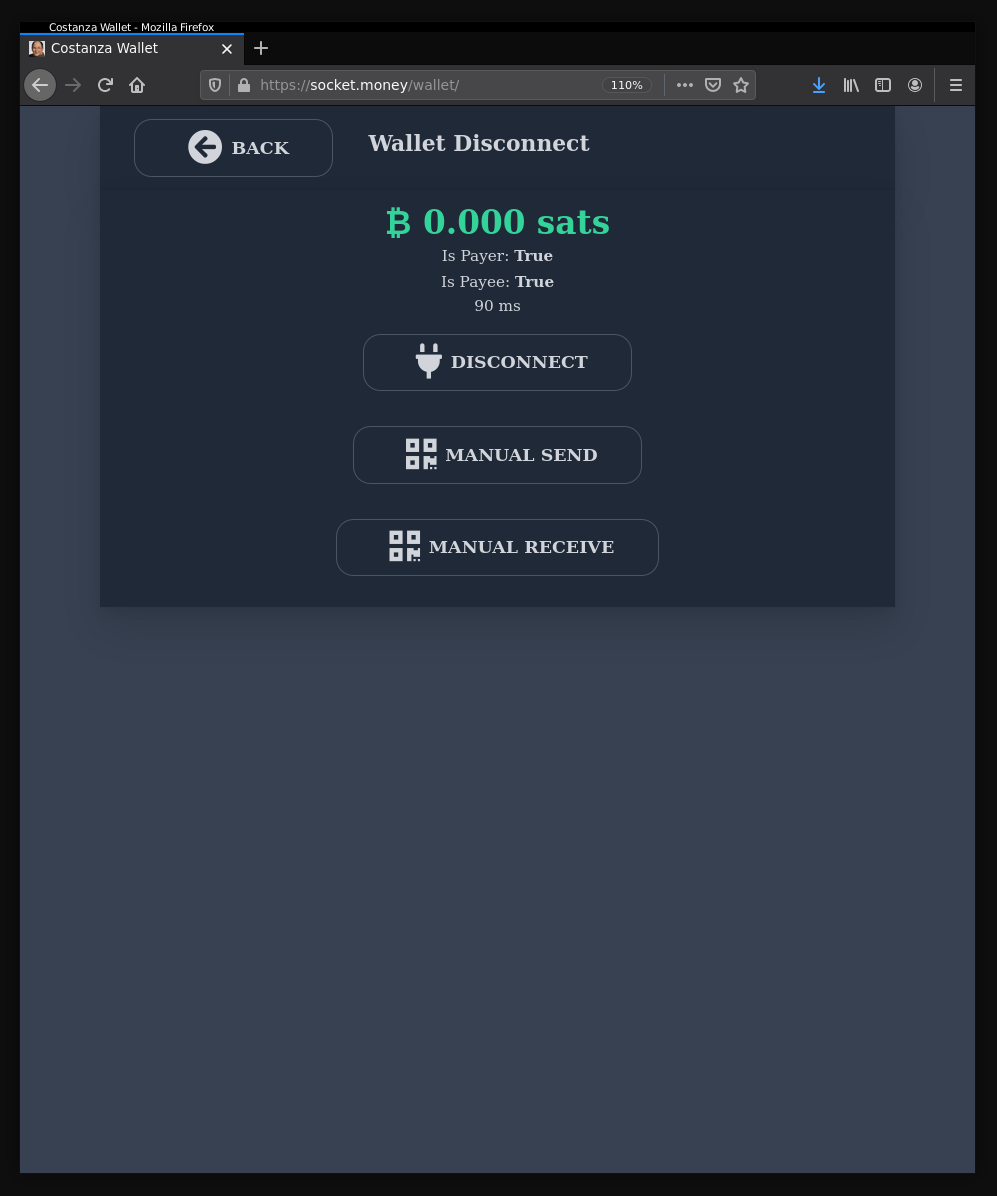
The wallet is built for sending and receiving satoshis via socket connections to an application, however it allows you to send and receive manually like other Lightning Network wallets too.
If you click on the zero satoshi balance on the main screen, you will be given those options.
The Manual Receive button will take you to a screen where you can request a bolt11 invoice of a chosen amount of satoshis. For this tutorial, just a small amount of satoshis is sufficient.
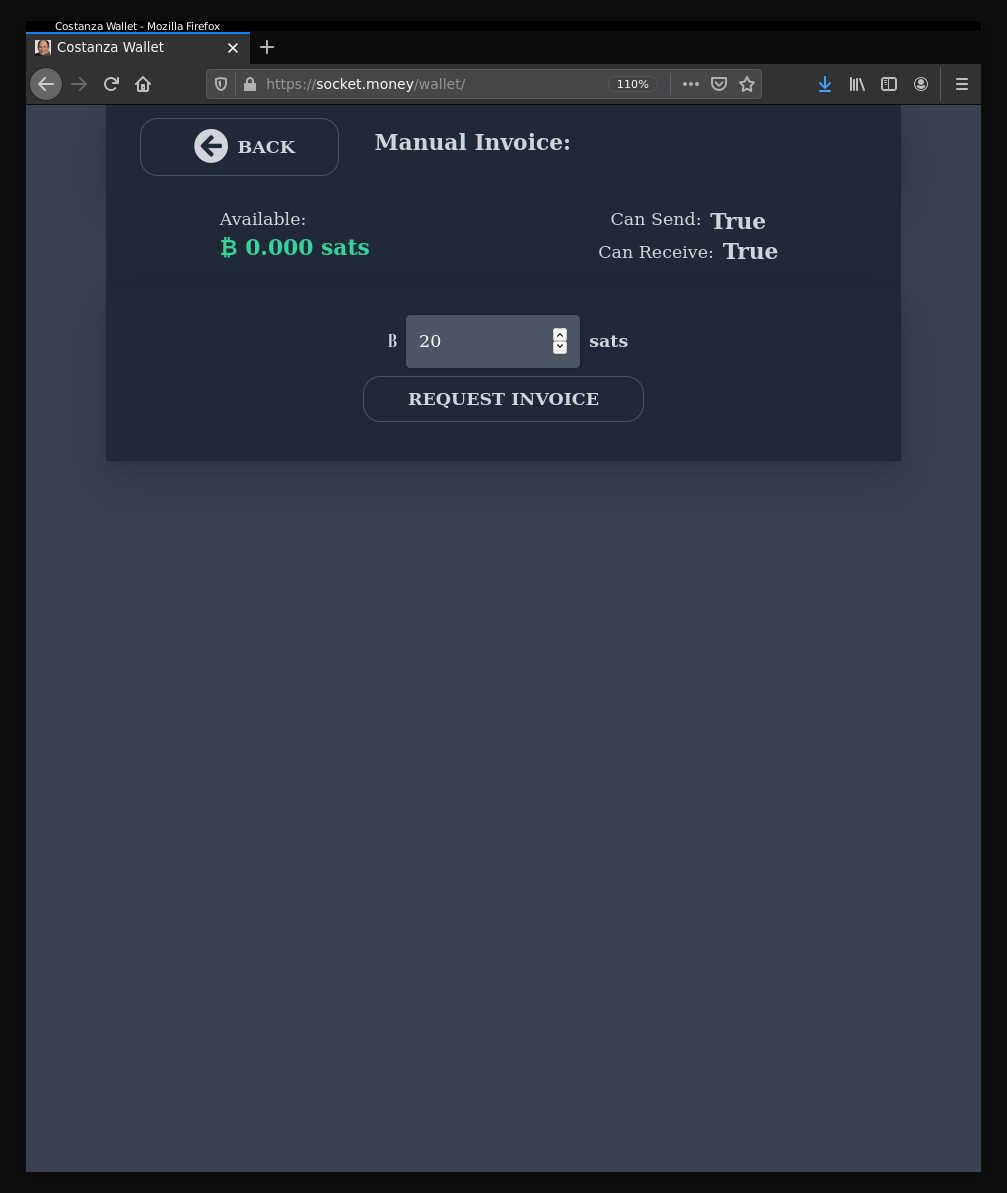
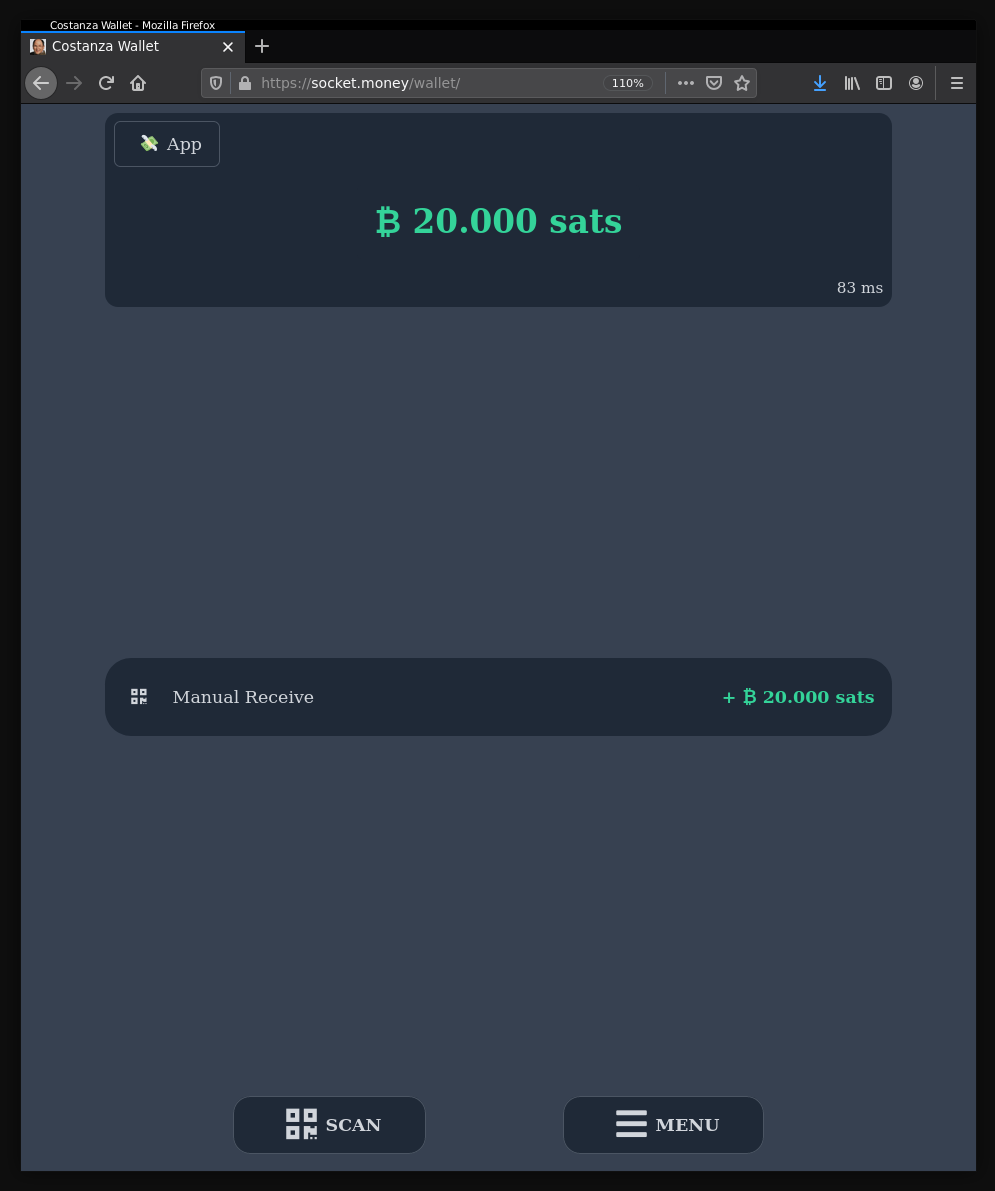
Upon requesting the invoice, a QR code will display the bolt11 and also give you the option to copy the bolt11. Paying the bolt11 will result in the balance appearing on the main screen.
We are now ready to create a socket connection to an app.
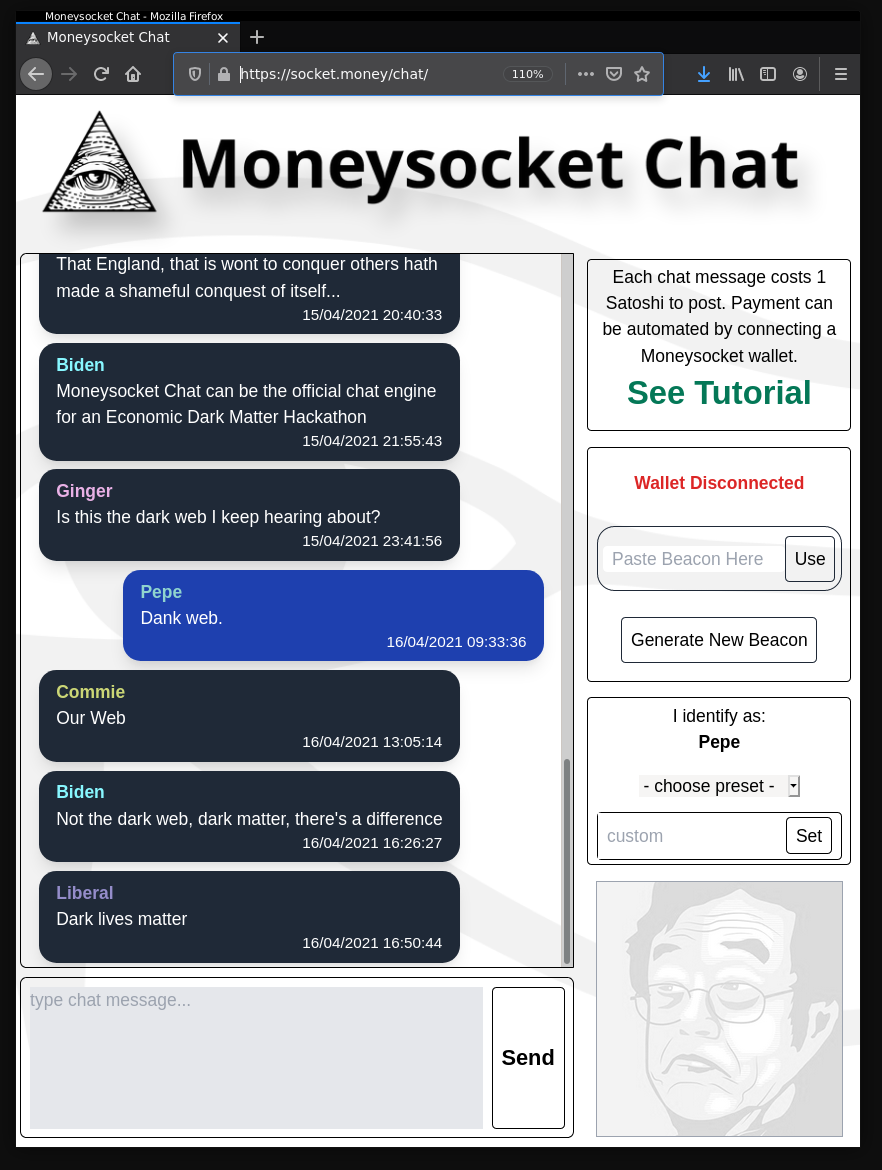
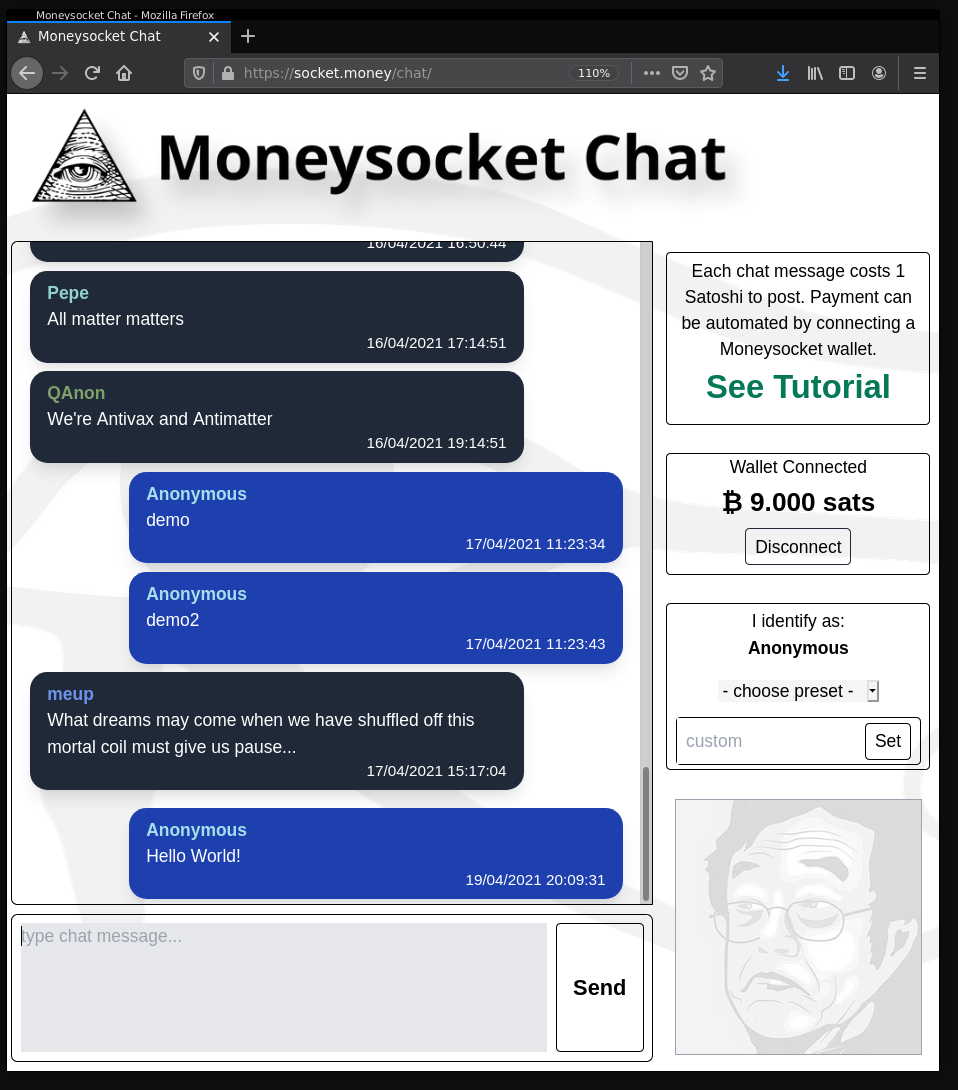
The Moneysocket chat app can be accessed at socket.money/chat
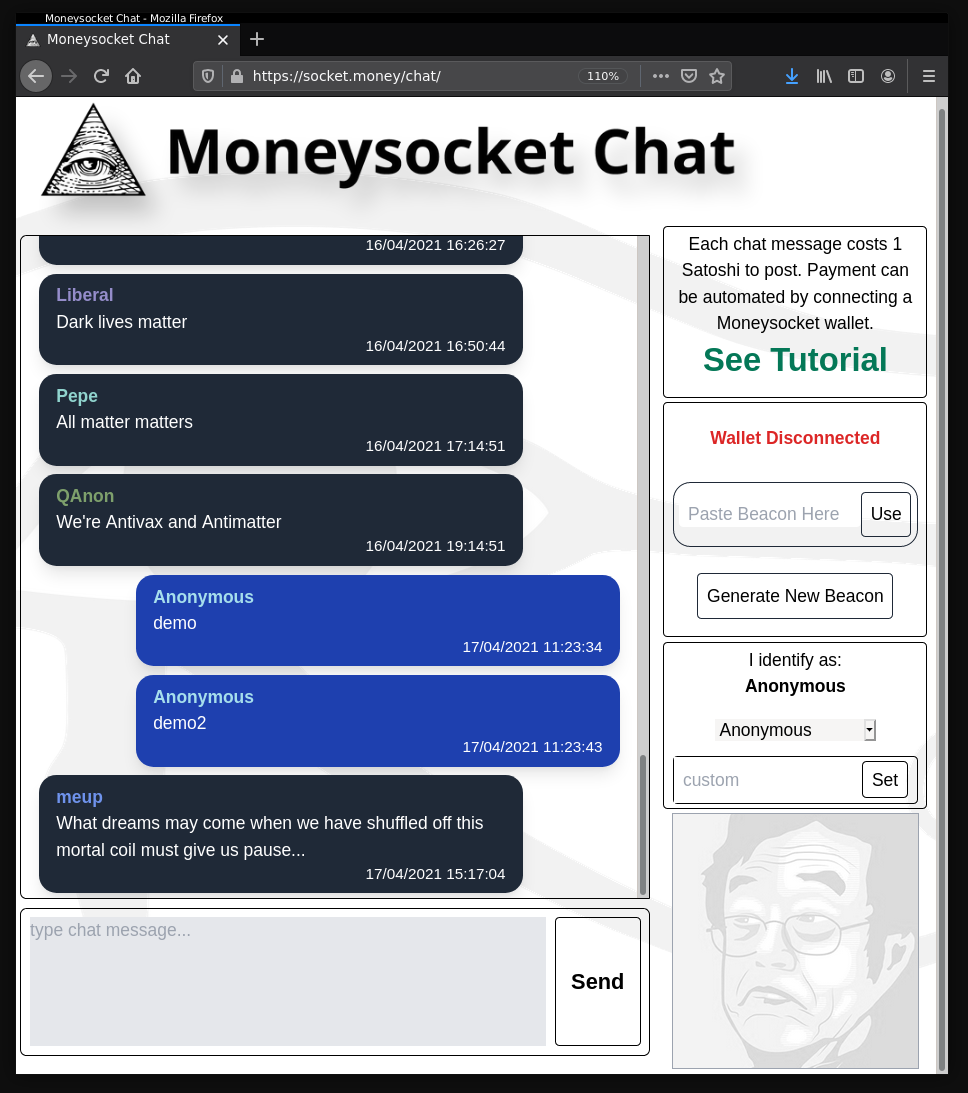
In this chat app, each chat message costs 1 satoshi. However, this would be awkward to pay with conventional Lightning Network wallets, since each payment requires manual actions. With Moneysocket, we can automate the payment and proceed to chat the way we expect in chat apps.
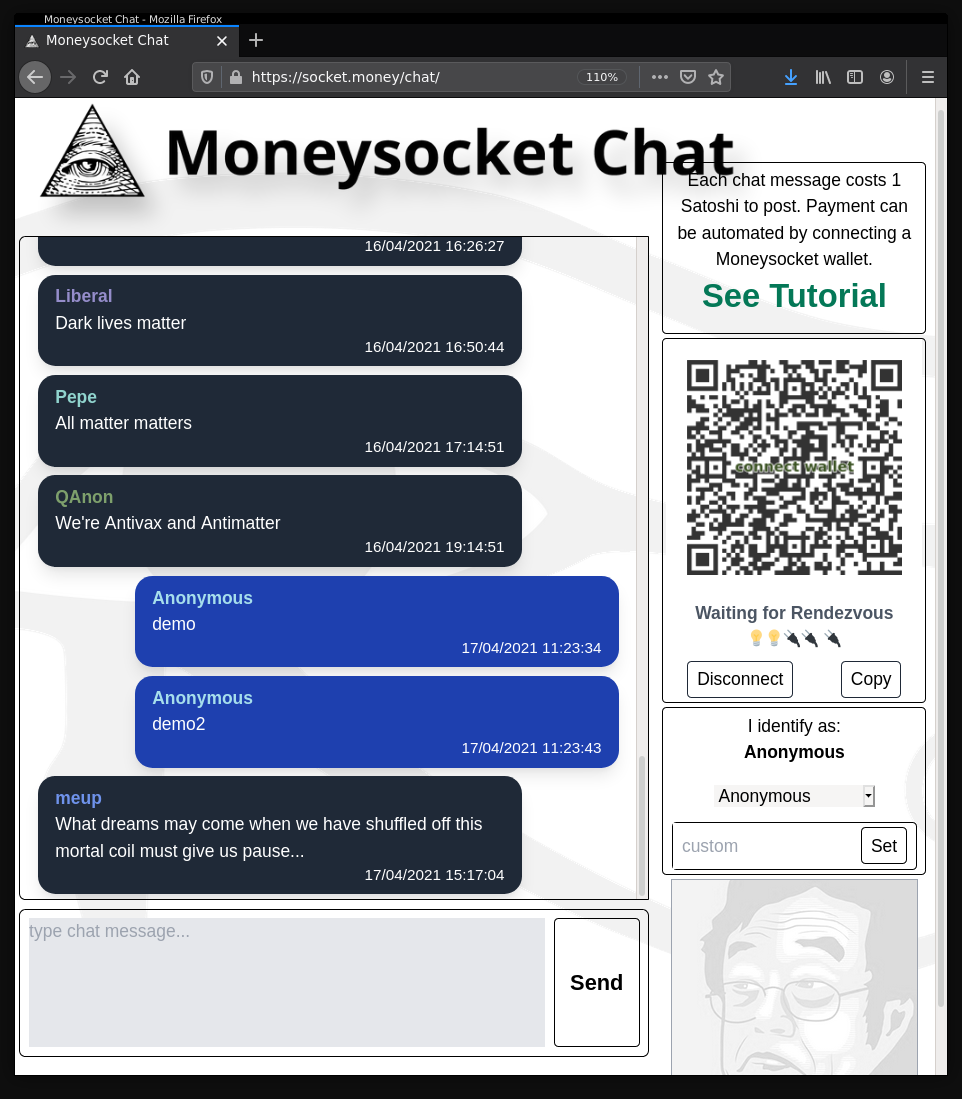
On the side panel of the chat app, click the Generate New Beacon button to start the connection process. It will display a QR code, but pause at the "Waiting For Rendezvous" stage.
We must copy or scan this beacon value into the wallet to make a connection. On the wallet, click the App button in the top-left corner.
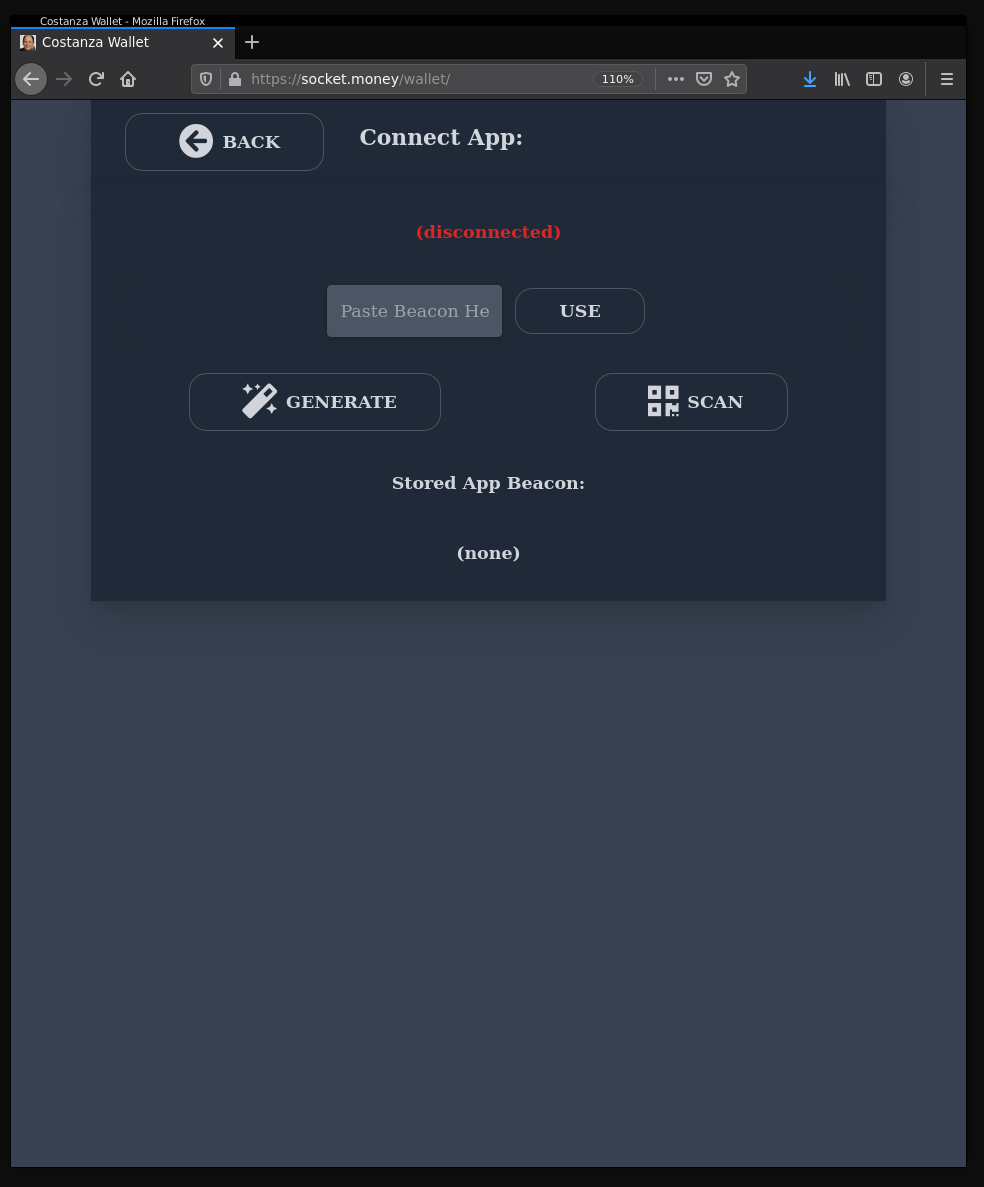
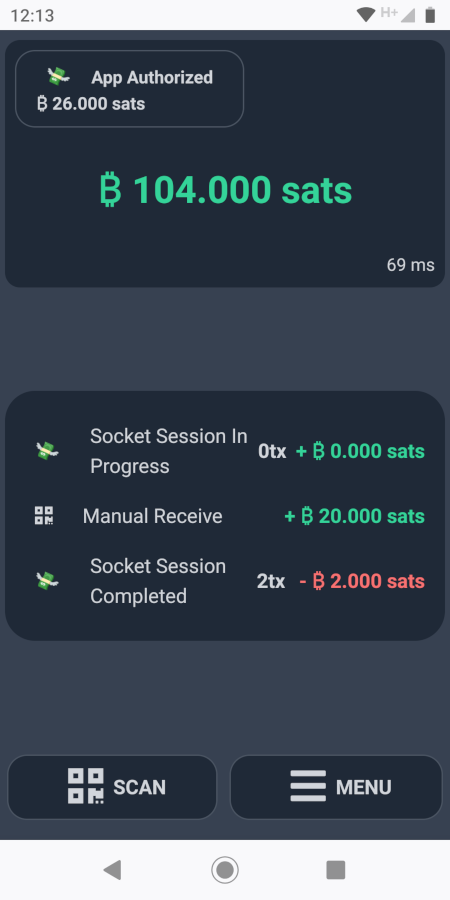
Either scan in or paste in the beacon value from the chat app. When the connection completes, the chat app should show a balance of 0.000 sats
The wallet should present the authorization dialog. We need to authorize a balance to be spendable through the connection. This prevents exposing your entire wallet balance.
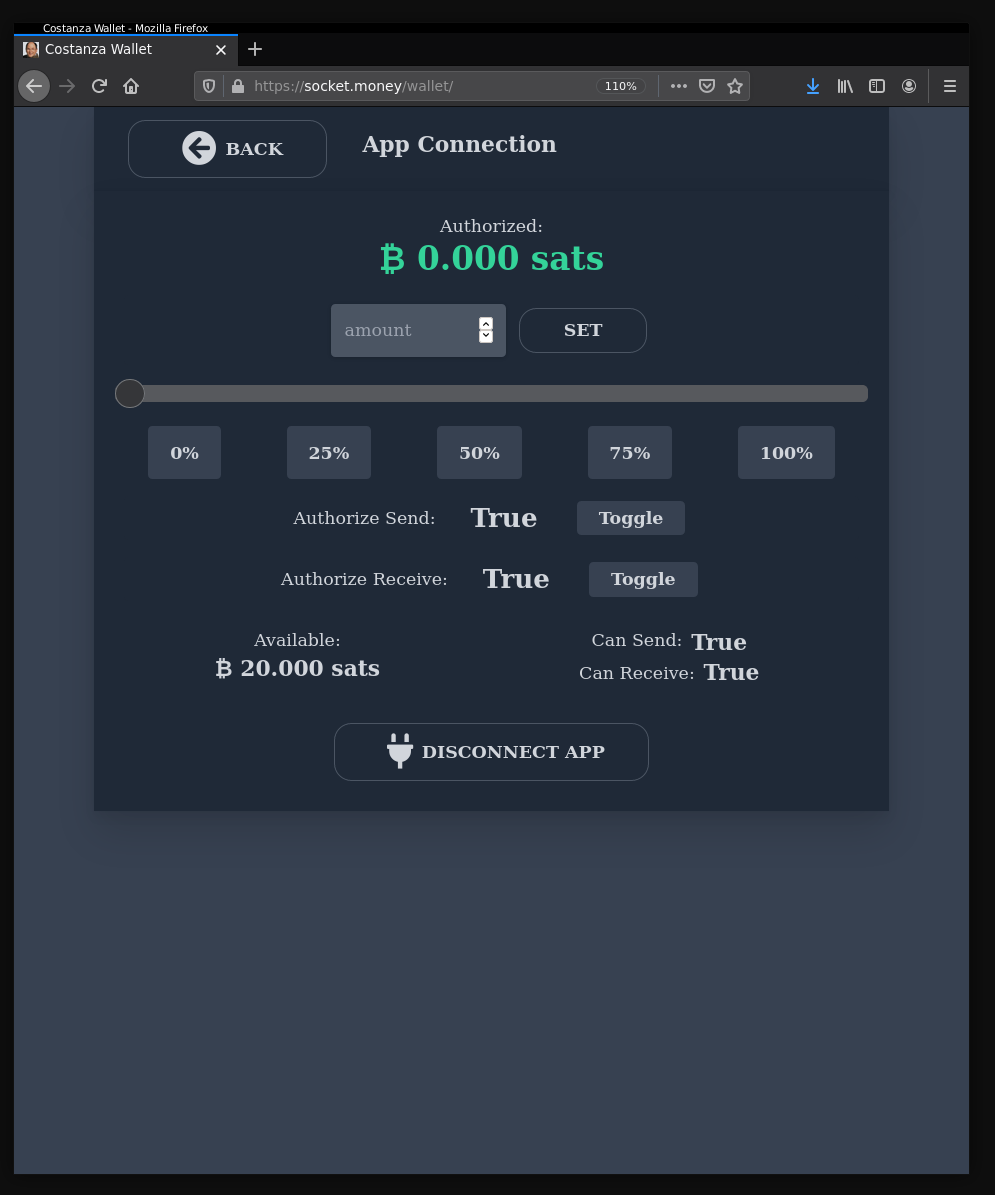
Select 50% and then press the Set button to authorize half of the available wallet balance.
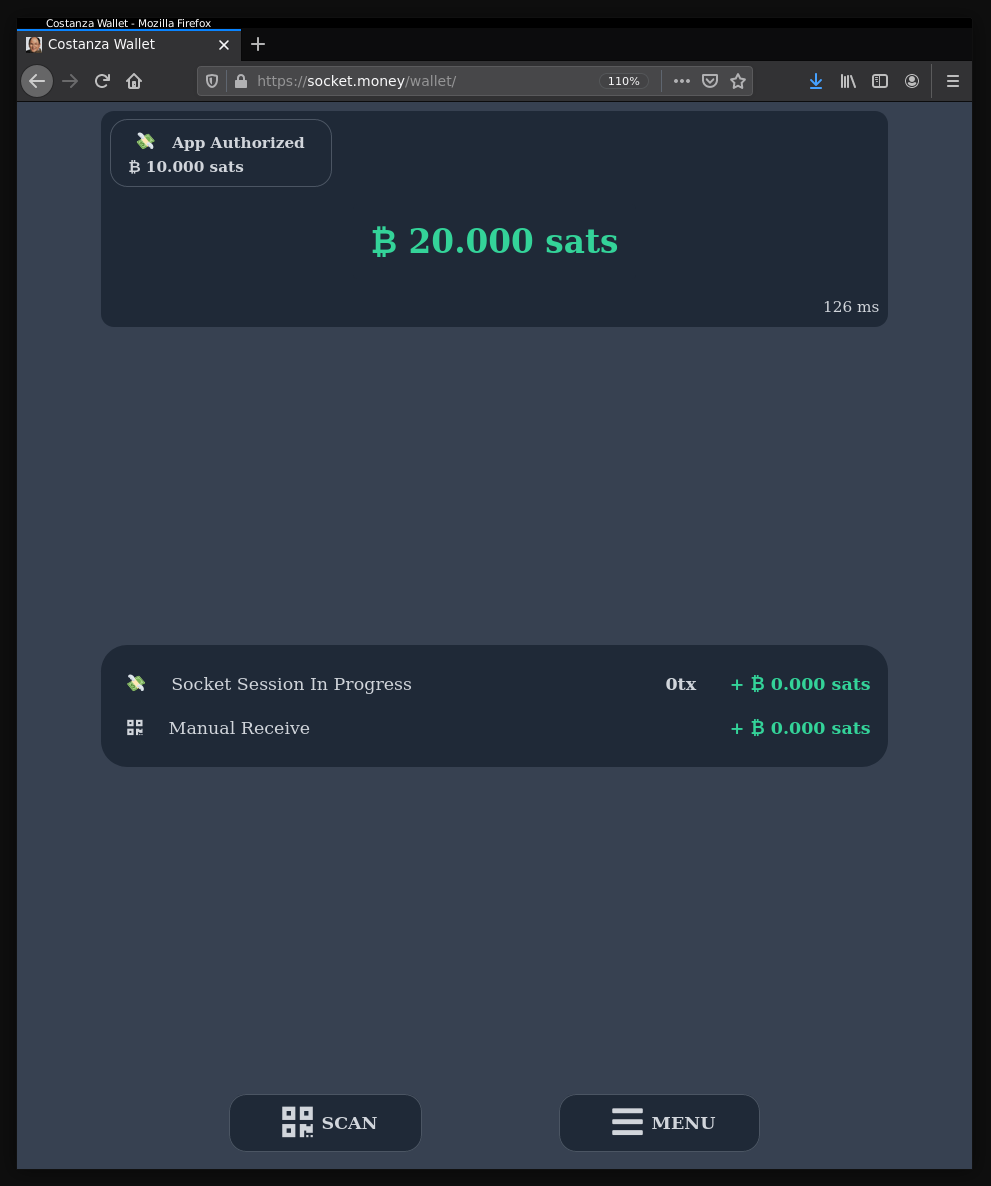
This authorized balance will also appear on the chat app on the side panel.
Now that we are connected, we can type messages into the chat box and see the invoices paid automatically and the satoshis deducted.
Likewise, you can see these actions automatically update on the wallet interface.
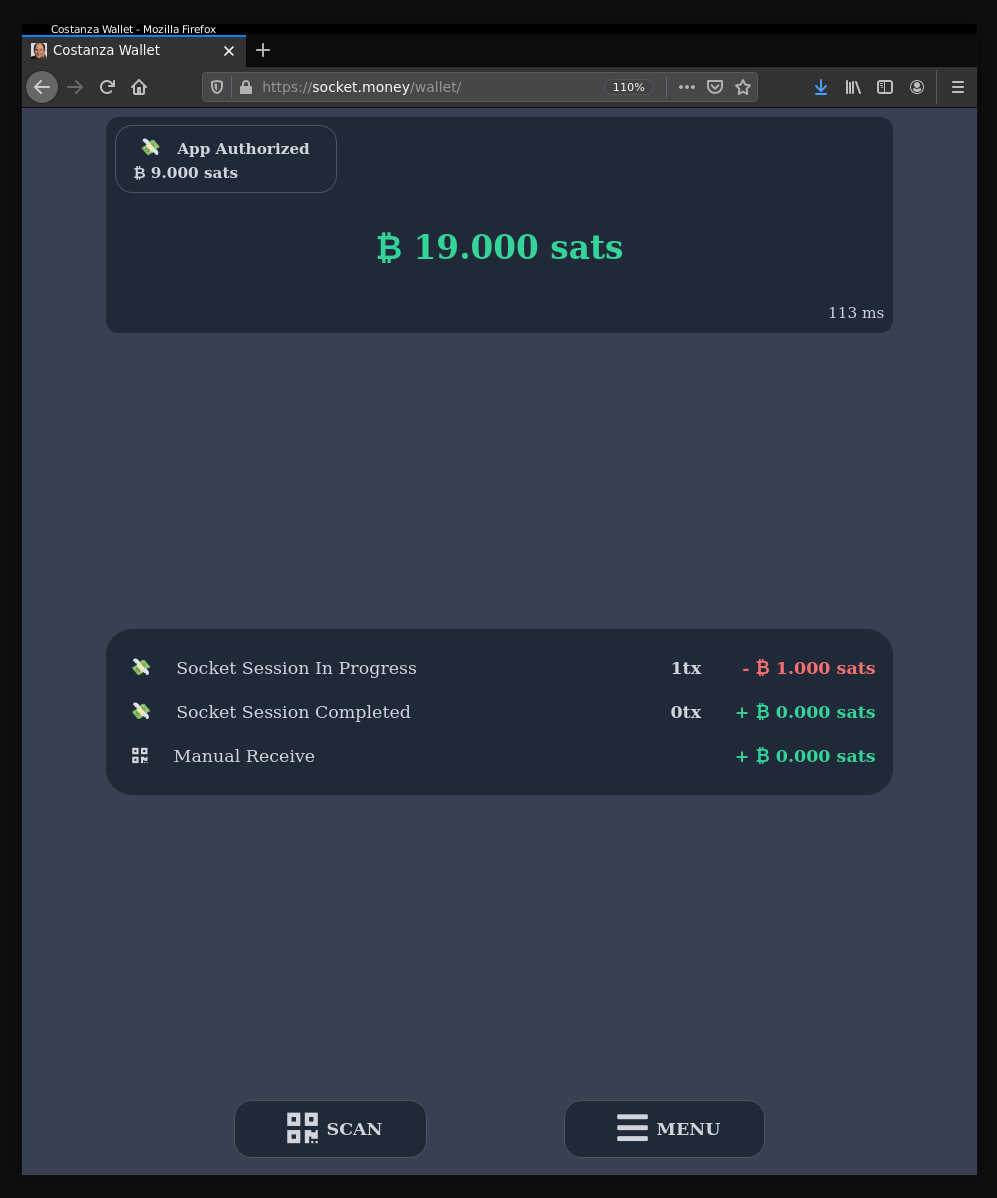
By setting up the socket connection, we have enabled the chat application to drive payments. The Enter press to send a chat message also sends a payment. This is done without a browser plugin and isn't limited to applications that use a web browser (though that's the easiest way to deploy software). The permission over access to the user's funds are enforced by the user's wallet application.
The beacon string provided a simple way of connecting two different applications together for the purposes of these payments. This tutorial had you manually setting up the connection by transferring the beacon, however it can easily be imagined how the beacon can be we membered by applications for automatic setup the next time the user returns to the application.
Thanks for following this tutorial. IF you have any questions or comments, please join us in our Telegram group.